PART 10
INSTALLING THE NEON LIGHT AND
DYNAMAT SOUND DEADENING MATERIAL

The AMD logo is green.  Why not install a green neon light kit to set the case off?

Dynamat?  Yes... there are pros and cons:

CONS:
It's heavy... I have a shoulder strap and only do 3 or 4 LAN parties a year.
It's expensive... I found some 18"x30" rolls at a local discount electronic shop for about $20.
It stinks... The smell DOES go away, and it's going to be at least another two weeks before I take this case home.

PROS:
As designed, this stuff WORKS!  The electronics shop had a desk-style bell with a piece of Dynamat attached to it.  The piece was about the size of a nickel, and the bell was completely silent except for a light "thunk" when the clapper hit the side.
I underlined "as designed" because this stuff was designed to eliminate metallic vibration.  I have heard mixed report of how well it works in computers.  It SHOULD reduce the noise from hard drives and CD drives, as well as reduce the sound transmitted through the case from my dual Delta 60 mm fans.  I do not expect it to silence the three 120 mm fans, and only expect perhaps some motor noise reduction from the four 80 mm intake fans mounted on the side panel.

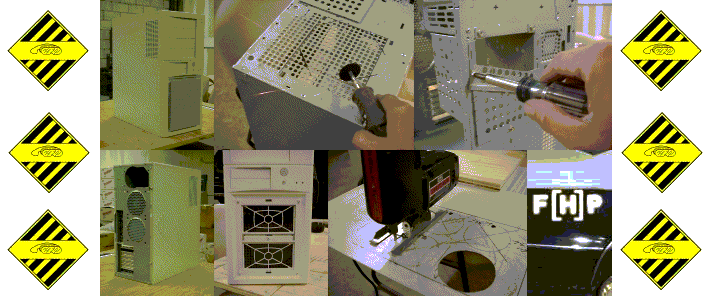
All images are set to a height of roughly 240 pixels.  Click the image for the full-sized shot (800 x 600)

I used a 15" green neon light that I bought at Pep Boys for about $30.  There are a number of places on the web to buy these, but the price was the same and I didn't have to wait.  Pep Boys is a bit limited in size and color selection.  They only had green in 15", and 15" may not fit all cases.  You can see how tight it is in this case.  These are made in 10", and CasesEtc has a great selection of sizes and colors.  Cases Etc will also be the distributor for the new Coldforge AA-15 all-aluminum WTX case.
Sweet. 
I trimmed off the screw-mount tabs on the end and used the included double-sided tape to hold the light to the case.


Here are the tools needed... a pair of scissors and a roller.  A hard rubber roller would have been more professional and made it easier to get into the corners, but I didn't have one, and a local kitchen "tools" store had this "Children's Rolling Pin" for less than two bucks.
I used foam as a work surface to protect the paint.
 
Measure and cut to size.  The stuff will tend to stretch a bit as it is rolled out, so it does need to be cut slightly undersized.

Notice the silver foil... this is Dynamat Super.  Should reflect the neon like crazy, but you DO have to be careful that all edges are clean, as a stray sliver of Dynamat will cause as much grief to your motherboard as a sliver of metal not cleaned out after cutting for a fan.

You caught me, this picture is faked.  In reality, the Dynamat should be gradually rolled on from one end to the other, but I needed two hands for the rolling pin (something else to be said for a regular hard rubber roller) and another hand for the camera.  Rolling ensures proper adhesion, which translates into the best performance. The right side and top, ready to go.


Several places in the chassis were covered as well.  The area surrounding the intake fan was treated, as was the bottom of the chassis... ...and the small area below the exhaust fans between the neon light and expansion slots.
After getting this far, I started tapping on the case.  Areas that still resonated were the power supply shelf, drive cages, and motherboard tray.  Given what I saw at the store with the bell, thinking that even a small amount would help, I applied the Dynamat to the recessed area below the PSU (the noise was actually coming from the hard drive cage beneath it), and the two areas at the top of the motherboard tray on either side of the wire passthrough. Here is the left panel, fully treated.  I expect this to be the biggest single noise source in this case.


<<< Back HOME Page 11:  Next update to come.